Mastering Roller Skates Art: Step-by-Step Drawing Guide
Roller skates are a timeless symbol of summer fun and a great way to keep active. Whether you're a seasoned skater or a beginner, drawing a pair of roller skates can be a fun and creative way to express your love for this iconic activity. Let's dive into a step-by-step guide to help you draw roller skates like a pro.
Before we start, gather your drawing materials. You'll need a pencil, eraser, and paper. A ruler can also be helpful for precise measurements. Once you're ready, let's begin our roller skate drawing journey.
Understanding the Anatomy of Roller Skates
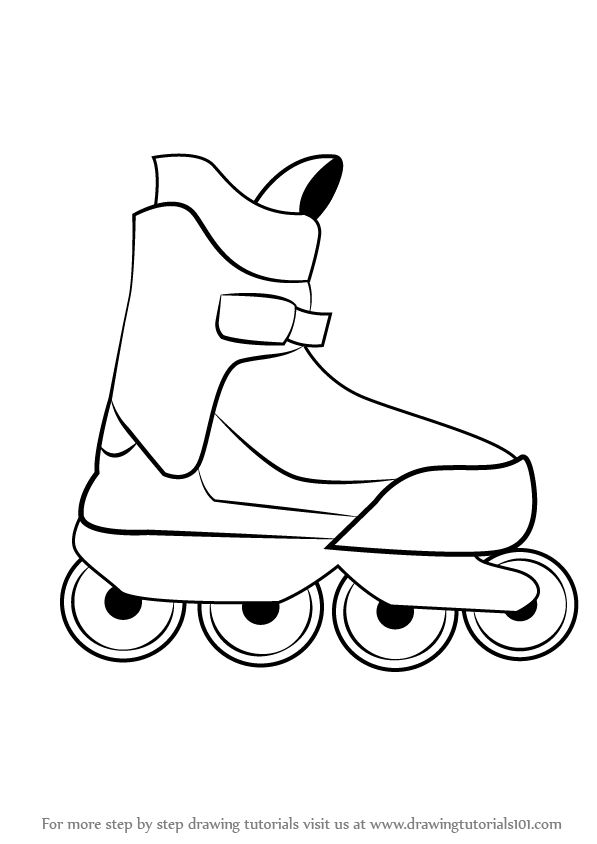
To draw roller skates accurately, it's essential to understand their basic components. Roller skates primarily consist of the boot, the chassis, and the wheels. The boot is the part that covers your foot, the chassis is the frame that holds the wheels, and the wheels are the circular components that come into contact with the ground.


Familiarize yourself with these parts by observing real roller skates. This understanding will help you replicate the shapes and proportions accurately in your drawing.
Sketching the Boot
Start by drawing the outline of the boot. Sketch a rectangle for the main body, and attach a smaller rectangle at the top for the ankle strap. The boot should have a slight curve at the arch to represent the foot's natural shape. Use light, flowing lines to maintain flexibility for adjustments.


Next, sketch the toes and heel. Draw two curved lines at each end of the rectangle for the toes and a smaller curve at the back for the heel. don't worry about making it perfect at this stage; we'll refine the lines later.
Adding Chassis Details
Now that you have the basic boot shape, sketch the chassis. The chassis is usually a rectangular shape with wheels popping out from underneath. Draw a larger rectangle at the sole of the boot, making sure it's well-aligned with the boot's outline.
Add four smaller rectangles within the chassis rectangle to represent the wheel wells. These are the areas where the wheels fit into the chassis. Ensure these rectangles are equally spaced and aligned correctly with the boot.


Refining and Shading Your Roller Skates
Now that you have the basic shape, it's time to refine your roller skate drawing. Darken the lines that you want to keep, and use your eraser to lift out any unwanted lines. Take your time with this step, as it's crucial for making your drawing look polished.
Pay special attention to the boot's laces and any brand logos. Draw the laces as thin lines across the boot, and for logos, look up real roller skate logos online for inspiration. Recreate these logos carefully within your drawing.
Drawing the Wheels
Roller skates usually have four wheels arranged in a straight line. To draw these, start by sketching a circle for the main body of the wheel. This circle should fit within the wheel wells you previously drew.


Next, draw a smaller circle at the center of the larger circle to represent the wheel's hub. Finally, add some lines radiating out from the hub to the edge of the larger circle, giving the wheel a dynamic, spinning effect.
Adding finishing Touches
with your roller skates' main shapes refined, it's time to add some finishing touches. Start by adding small details like bolts, screws, and any branding details you may have missed in the previous step.
Once you're satisfied with the details, it's time to add shading. Use your pencil to lightly shade the areas that wouldn't be exposed to light, such as the inner sides of the boot and the backs of the wheels. Remember, shading helps to create depth and makes your drawing look more realistic.
Congratulations! You've successfully drawn a pair of roller skates. This skill can be a great addition to your drawing repertoire, whether you're an artist, a designer, or just a roller skate enthusiast. So, grab your drawing materials and give it a try. Happy skating and drawing!
Related Articles

Mastering Kitty Drawing: Step-by-Step Guide
Delighted to embrace your curiosity! Today, we're embarking on a charming artistic journey to learn how to draw a cute kitty. By the end of this step-by-step...

Mastering the Nose: A Step-by-Step Drawing Guide
In the realm of art, capturing the subtleties of the human face can be a challenging yet rewarding pursuit. Today, we'll guide you through the process of...

Mastering Alien Art: Step-by-Step Drawing Guide
Contemplating the vast expanse of the cosmos often leads us to imagine what lies beyond our familiar world. Aliens, with their unique forms and features, are a...

"Easy Steps to Draw 55th Birthday Cakes: Step-by-Step Guide"
Celebrating a 55th birthday is a momentous occasion that deserves a special touch. What could be more personalized and delightful than a hand-drawn birthday...

Mastering Thanksgiving Feast Drawing: A Step-by-Step Guide
The turn of the year brings with it a plethora of exciting festivities, none more heartwarming than Thanksgiving. This cherished tradition not only ushers in...

Mastering the Question Mark: A Step-by-Step Drawing Guide
Mastering the art of drawing can be a rewarding experience, and knowing how to draw a question mark can open up a world of communication and creativity. As one...